Find satisfaction with wildflower stratification
Baking 'soil cakes' for winter sowing and tips to prepare now for spring planting

It takes a long time to properly cook a soil cake if you didn’t know. I found out last night.
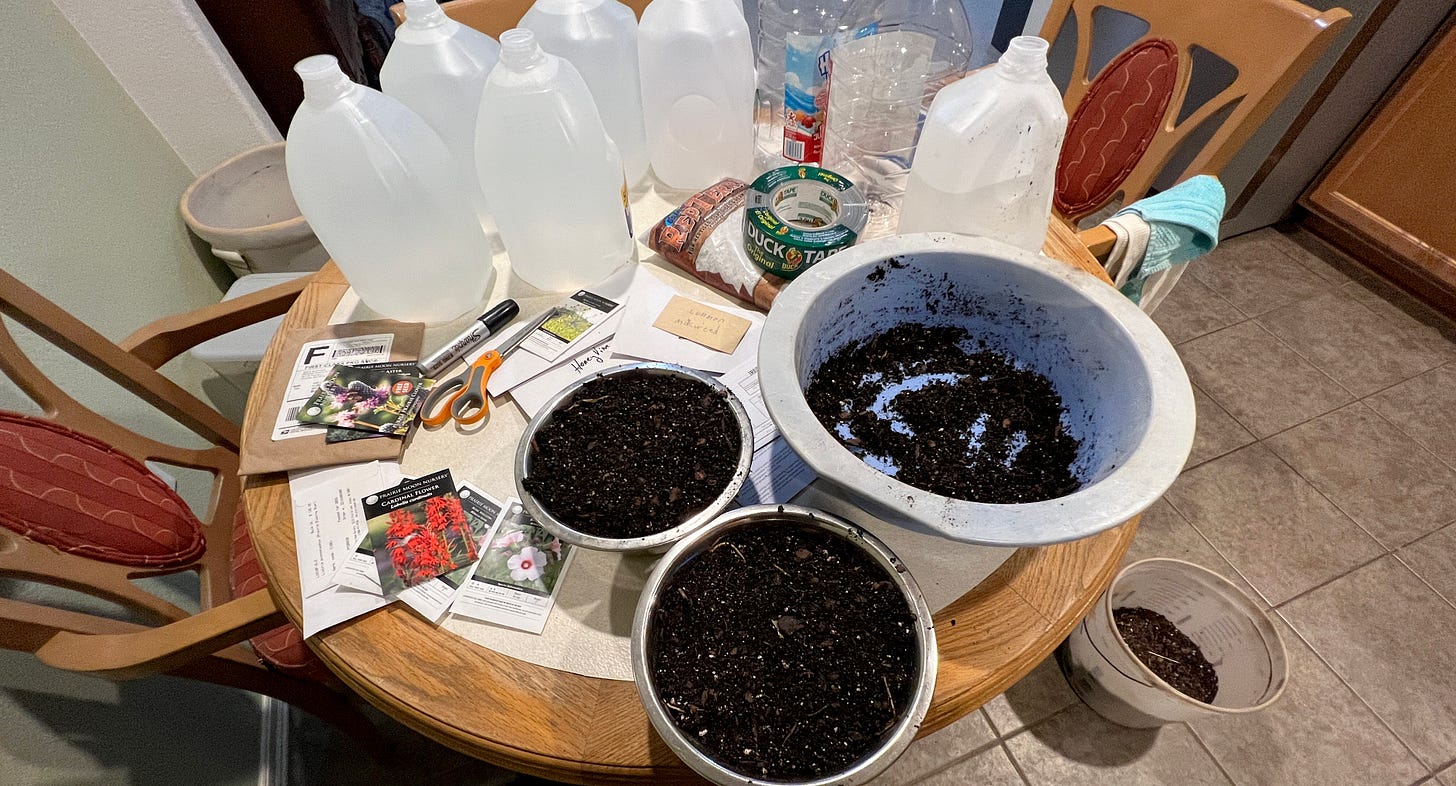
Making soil cake is strangely satisfying. Maybe in my psyche, it somehow harkens back to the mud-pie-making days of my youth down at the ditch by The Big Tree. In this case, it was turning dry-as-popcorn clumps and bits of old roots into dark, warm, rich, soil for planting.
I got into this while stratifying wildflower seeds—a way-too-late attempt at winter sowing when I could just be waiting for a couple of weeks to use another method. If you haven’t been thinking about stratifying your seeds yet, you should.
Springtime is closer than you think.
Winter sowing and germination tips
Winter sowing is not supposed to be an indoor kitchen job. A couple of hours outdoors on a warm December day is the proper setting. But, COVID got me, I got behind and, you know, stratification suffered—that old yarn.
And so, on a late January evening as the mercury dipped below freezing outdoors, I literally brought dirt and weeds into the sacred culinary center of our abode.
I’m providing links here to documents with directions for winter sowing and effective germination techniques from files on the Oklahoma Friends of Monarchs Facebook group page. It’s maxed out on memberships for now so I got permission to provide direct links to them here.
It is all excellent advice from local folks who have done this successfully for years.
If you are among those wondering what I’m on about, stratification, basically, is a process that shakes things loose. It sets up seeds, which are all too happy to remain dormant, that conditions are right to wake up and grow.
Native seeds often rest in the soil for years waiting for the right conditions. What we do with stratification and germination techniques is cheat the system and trick them into growing on our schedule. Native seeds might need a variety of techniques to germinate, including soaking, fermentation, nicking or filing an edge (scarification), instead of, or in addition to, stratification.
In most cases, the right combo of moisture and temperature is all that’s required. I also have a few varieties of native asters and clovers that don’t need stratification at all. I’ll plant them in the spring directly on the ground.
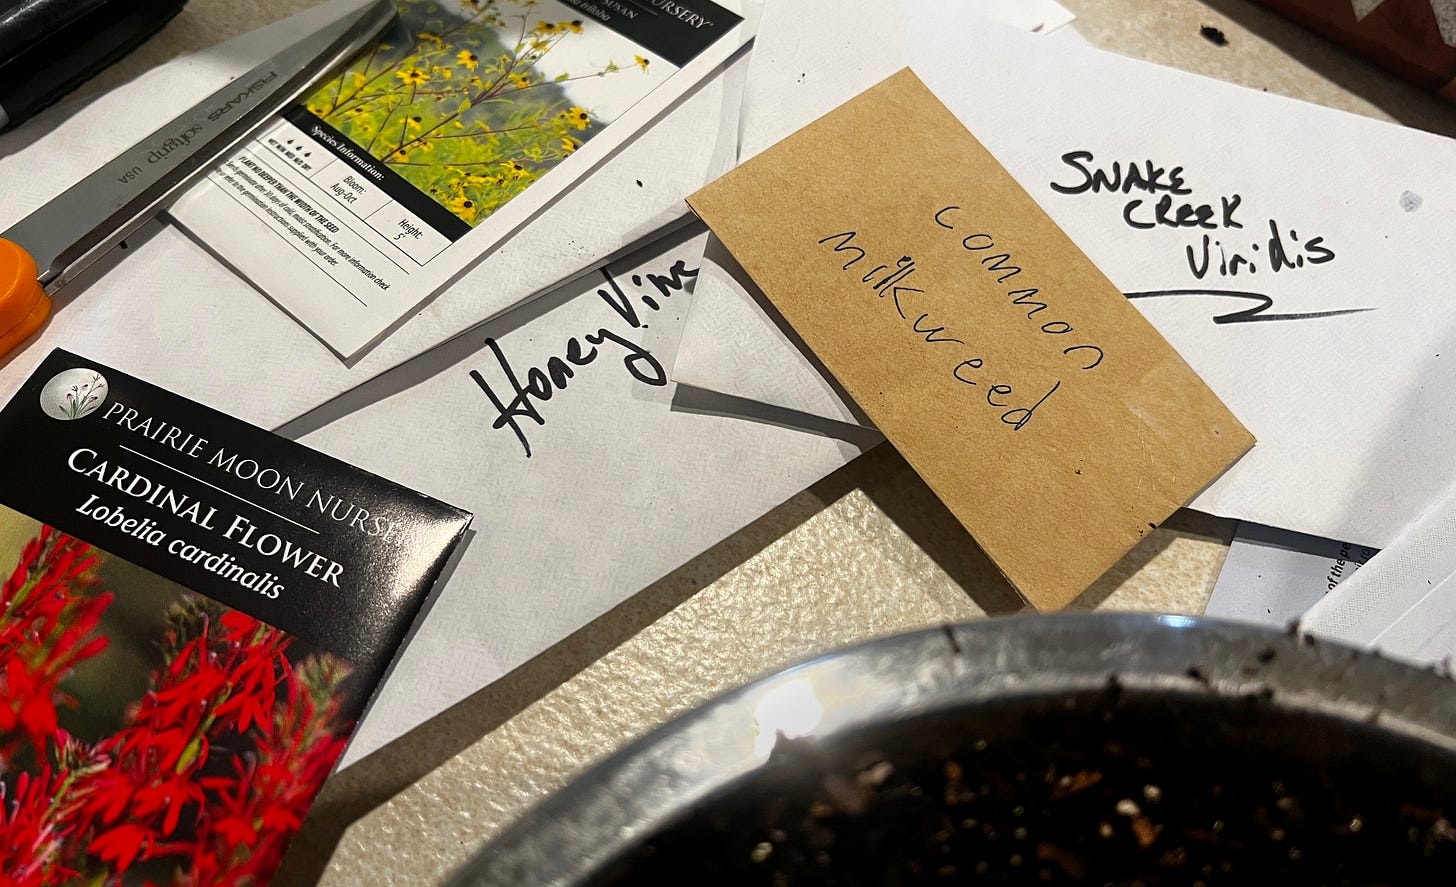
On purchased wildflower seeds, the package labels note the proper stratification times or advise planting outdoors in late fall or early winter. Labels often have a “(C)60” or “(C)30” designation to note the minimum number of cold days they need.
For seeds you’ve collected on your own, just pop into your favorite Internet search engine and type, for example, “common milkweed seed stratification time.”
Note here: Make sure you check the above link for the aforementioned germination tips. Soak those seeds before you stratify.

All you can do is try
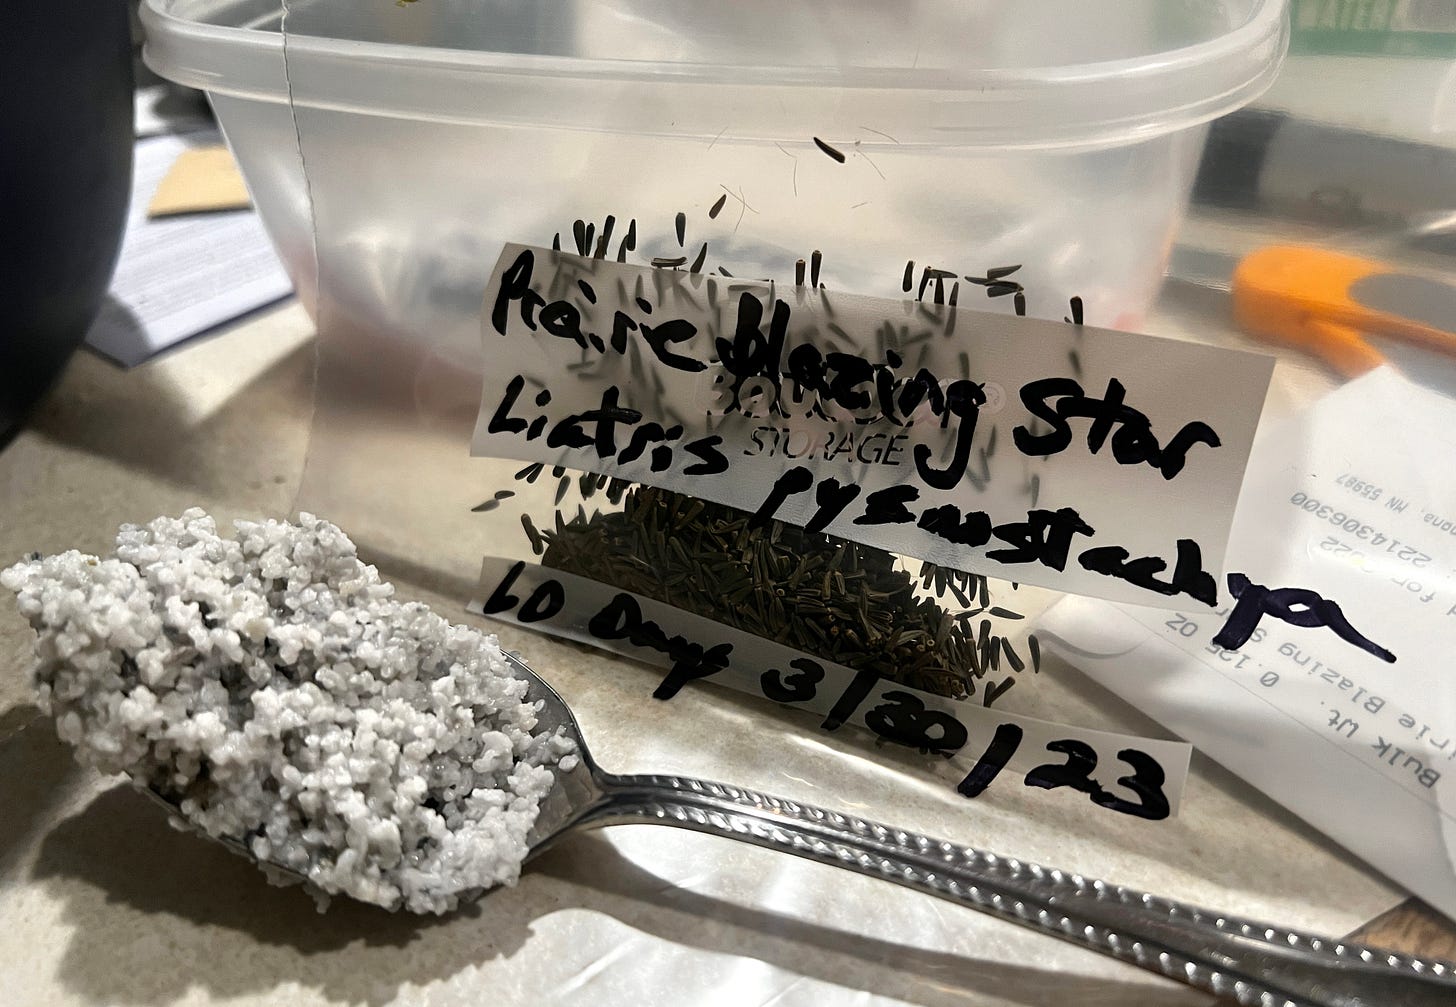
My timing was good for my first sets of (C)60 seeds, now rolled up in the fridge, air-tight in several little Zip-lock sandwich baggies with damp clean terrarium sand. Each one is labeled and dated, and a corresponding reminder is plugged into my Google Calendar for March 30.
I’m also experimenting with some passionvine seeds. Now in the cooler for 84 days. We’ll see what they look like in late April.
Passionvine, everyone has told me, is hard to grow from seed, but I can’t resist experimentation. My Internet searches on passionvine ultimately led me to Dave’s Garden, which addressed the wild passionvines (not the greenhouse varieties). The writer collected mushy gooey seeds from a late-season ripe fruit and mentioned a process with fermentation, but said germinating Passiflora incarnate “is not hard.”
Just the encouragement I was looking for!
I collected my seeds in early winter from a wrinkled, relatively dry, fruit about to fall off the vine so, no mold and fermentation for my seeds—although the outside of the fruit had green mold on it so maybe that happened naturally?
I’m picking up Dave’s Garden advice at the 12 weeks of stratification point and will pull them out of the fridge and plant them after April 18.
All you can do is try. There’s always next year and there are always more seeds.

Trouble in the kitchen
The seeds bound for clean sand and baggies were not an issue in the kitchen. A little sterile sand, enough water to make it clump like brown sugar, a spoon, and some sandwich bags, and that was it.
No, the trouble came with my own stubbornness. I was determined to “winter sow” seeds in plastic jugs. I really just wanted to give that method a try, and time was up. It was this weekend or wait until next year.
I winter sowed three milkweed varieties, Mexican hat sunflower, and tall Rudbeckia black-eyed Susan. All are now in jugs out on the back porch.
My wife has a Las Vegas attitude toward the kitchen and my sometimes less-than-desirable outdoors needs inside. If it happens between about 9:30 p.m. and 4 a.m. and I leave no trace, she’s happy not to know how I’ve violated her culinary sanctum.
To be clear, I could have just waited a few weeks to put the seeds in a bag in the fridge for 30 days. Some say that’s the most reliable way to stratify seeds anyway, so, heads up folks, put stratification on your calendar about 30 days from now.
What I like about the idea of winter sowing with jugs is the seeds are already in the soil and will grow when they’re ready. Set it and forget it (except for watering). I should have done it a few weeks earlier, but I still wanted to try.
What really became a problem in the kitchen was the status of my potting soil. It was in a plastic bucket open to the elements most of the summer. Weeds grew in it and it caught some lawn-mower spray. So, I needed to “sterilize” my potting soil.
Thus, dirt cakes.
Cooking potting soil is not true sterilization, even though people refer to it that way. The potting soil is moistened and prepared normally, then placed in an oven-safe dish covered with foil in the oven. Heat up the soil to 180-200 degrees (check it with a thermometer or probe), hold it at that temp for 30 minutes and you’ll kill all the weed seeds.
Heating the soil this way requires a lot of time, so another thought hit me while I was sitting at the table watching dirt bake.
The Lodge cast iron frying pan atop the stove called out. It has a stubborn section. It never cured correctly and it still sticks sometimes. It needed to be sanded off (again) and re-seasoned.
Ahh, an aroma with hints of hot cooking oil and raw steel along with “dirt road after a summer rain” and something kind of like roasted acorn squash filled the kitchen.
The dining table was set with a bucket, an old bedpan, a big old plastic bowl, a garden shovel, scissors, a center punch, a black marker, and good old Duck Tape duct tape. With the jugs cut and ready, I packed them after the soil cooled, planted my seeds, and now they are outside freezing on the porch.
It’s plenty cold this week, and I hope for at least 29 more cold ones—and no insanely warm ones—between now and springtime.
Apologies to those who pray for early spring, but I need the cold weather for my thing.
Most instructions advise putting the jugs out in the elements all winter long, but my late arrivals will be tucked away in the shade, regularly watered with a spray bottle, and kept out of the sun—for at least 30 days.
Yeah, I know, the refrigerator would have been easier, but where’s the fun in that?


